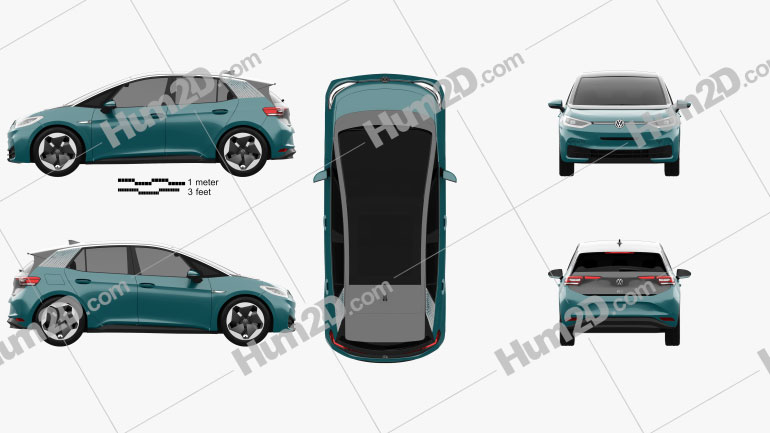
Volkswagen ID.3 Clipart Image Design GuideMake sure that the chosen Volkswagen ID.3 clipart has no problems with the main perspective; even if the side angle has depth. Use whatever tool you like. I lightly outline everything and then work the drawing with a ballpoint pen. In my opinion, this method creates a crisp, accurate result with the added benefit of scanning without creating a mess from this image. Fortunately, the clipart will not be visible after rendering. Scan the clipart at 300 dpi. To start, duplicate the Volkswagen ID.3 car clipart using the "Duplicate Layer" option on the Layer menu and set the blending mode to Multiply. This layer should always stay on top. Create a new layer and paint over the wheel niches with black. Import the wheels to a new layer. Either cut and paste your existing wheels, or use the ones you created and rendered in Photoshop. I save all the wheel designs in a folder, so I end up with a whole library of different wheel designs.
Volkswagen ID.3 clipart via Create borders around the bodywork. There are two ways to do this: using Paths or Polygonal Lasso. Approach and draw lines as short as possible. Paths are tricky for beginners, but they give you full control over the tangents and radii of the curve. In this case, using Paths is preferred because of the coarse nature of the component, and because it will need to be saved later (See tab). Fill the border with the body color. Create borders around the wheel arches, copy and paste them to a new layer. On the body layer, use Dodge to lighten the upper part of the front, and use Burn to darken the lower part of the car. If this design has stamped lines that separate the top of the car from the bottom (as in this example), you need to draw a line to have a clear boundary between dark and light in our Volkswagen ID.3 clipart. Create a new layer above the body layer, but below the copied wheel arches. On this layer, use the Paintbrush to add details. Instead of white and black, it's better to use a light blue shade for the surfaces that reflect the sky, and a dark brown shade for the surfaces facing the ground. Vary the opacity of the brushes according to the position of the surface and the light source. Once you're done with the Paintbrush, apply Dodge and Burn to the bottom of the copied wheel arches until they blend in with the bodywork. Then merge all the body layers together. On a new layer under the body, create a Path/Lasso for a more distant arrangement of the windows. Fill this area with Sky Blue color with opacity (opacity) = 40%. On a new layer, recoil the far side of the inner structure of the Volkswagen ID.3 clipart. Fill with medium tone with 100% opacity and apply Dodge and Burn for depth. We need one more new layer for the interior parts (Seats, Steering Wheel, Dashboard), which must be painted with a darker shade. And again, apply Dodge and Burn to the shape. On the new layer, select the near side of the uprights/structure and fill it with black. |